
Thinking about putting together some homemade stock? We’ve got some thoughtful tips from farmer Chrissie that will really make that from-scratch batch sing.
Like all home-brew projects, the best advice—paraphrased from Charlie Papazian—is to just relax and don’t worry. All homemade stock is good and way better than the store-bought stuff. There are really only a few ways to ruin it: you can let it burn, add too much salt, or let it spoil.
There’s really no fixed recipe for homemade stock. It’s a general process which can be used for various kinds (beef, chicken, etc.) and every home cook has their own spin on it.
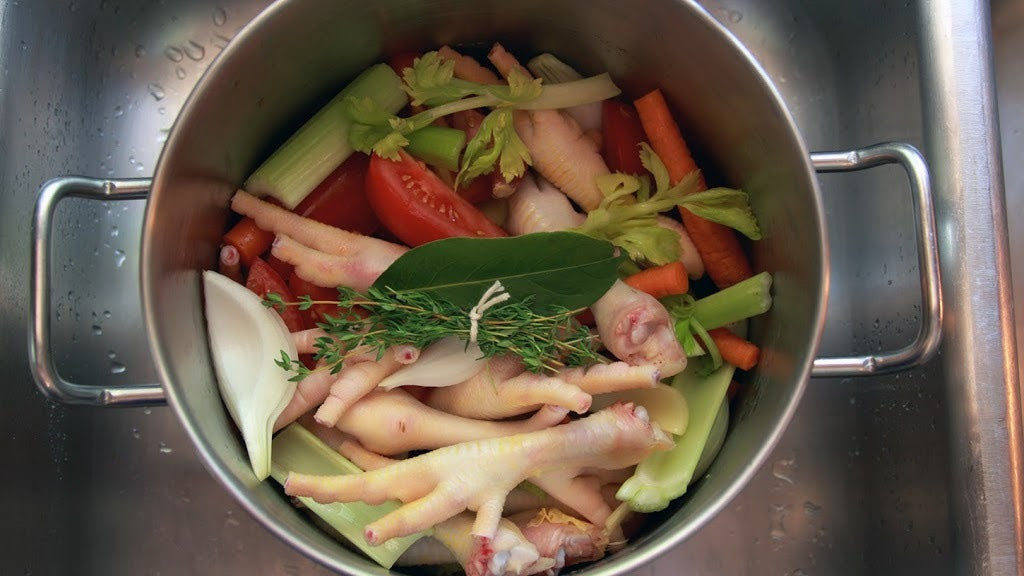
How do you do it? For beef stock, fill the pan half full of water and drop in two of our frozen beef bone kits, hard as a rock and straight from the freezer. Add a large carrot (uncleaned and unpeeled) cut into four pieces, a few stalks of celery cut to fit the pot, and a couple of onions, cut in half. Throw in a handful of fresh parsley. Bring it to a boil, then turn it down to a slow simmer. Sometime that night, or maybe even the next morning, you can strain it and skim the fat off the top. It’ll then continue to simmer until the reduced stock fits in a one-quarter canning jar. Label it with the date and put it in the fridge, where it will set up solid like Jell-O.
For chicken stock, the process is much the same. Basic stock is really that easy. Make two pots, or carry out the process twice and you’ll have it down pat. So why do people think it’s so complicated? Maybe because there are a lot of tips and refinements out there. My best 16 tips are below. You can do any or all of them, or just stick to the basics above. Either way, you’ll end up with a great stock.
Tip 1: Keep it Good
The one-hurt jar of condensed stock that you make via the process above has the flavor and nutritional equivalent of about a case of canned stock. It’s important to date the lid. To prevent it from ever going bad, just re-boil it once a month and write the new date on the lid. If the stock completely liquifies and is above 140 F for more than 30 minutes, it will be pasteurized and good for another three-four weeks.
Tip 2: Lesser Veggies
Never buy fresh, first-quality vegetables for making stock. It’s a complete waste of your food budget. Instead, save any and all scraps when cutting vegetables and keep them in a bad labeled “stock” in your freezer. Put the bones from your roasts, steaks, and chickens into the bag. When you’re ready to make stock, pull out the bag, shake everything into the pot, and add water.
Tip 3: Free Stock
Homemade stock costs very little to make. The bones are free when you save them from previous meals and the vegetable scraps would have been thrown away or composted.
Tip 4: Roast the Bones
Pre-roast the bones for greater depth of flavor. It’s not necessary, but caramelizing the bones does offer a deeper, richer flavor. Turn on your oven to about 350 F and put some bones on a cookie sheet. The bones can be new or leftover, fresh or frozen. Roast until browned, maybe an hour. You can roast the bones one day, keep them in the fridge for a day or two, or freeze them for longer, depending on when you want to make the stock.
Tip 5: Utilize Acid
In homemade stock, the minerals come primarily from the bones. You can help release the mineral by adding acid, like apple cider vinegar, mead vinegar, kombucha vinegar, malt vinegar, beer, wine, or mead. Use whatever you feel like. The longer you simmer the bones (up to three days), the more minerals will leach out of the bones and into your stock.
Tip 6: Safety First
Here’s an important safety tip. While you can simmer stock for three days, always shut the stove off when you leave the house or go to bed. Put the lid on the pot, turn off the heat, and walk away. It will be fine for 24 hours. When you get home or get up in the morning, turn the heat on high to return it to a boil, then reduce to a simmer and continue. Also, keep the pot at the back of the stove, especially if you have children. It’s best not to risk spilling several gallons of boiling broth on anybody.
Tip 7: Bash the Bones
To massively increase your broth’s mineral content, smash the bones with a hammer before simmering and again after they’ve simmered for 24 hours. This will extract even more nutrition from the bones.
Tip 8: Collagen and Gelatin
Many people swear by gelatin tablets and the benefits they give to hair and nails. Collagen comes from the connective tissue of the animal, like the tendons, ligaments, spinal discs, and combs and wattles. This is why heads, feet, hooves, backs, wings, knucklebones, and drumsticks all make great stock. These items improve the texture and mouthfeel of stock. It’s the key to silky, viscous broth that sets up in the fridge like Jell-O.
Tip 9: Stock’s About Muscle
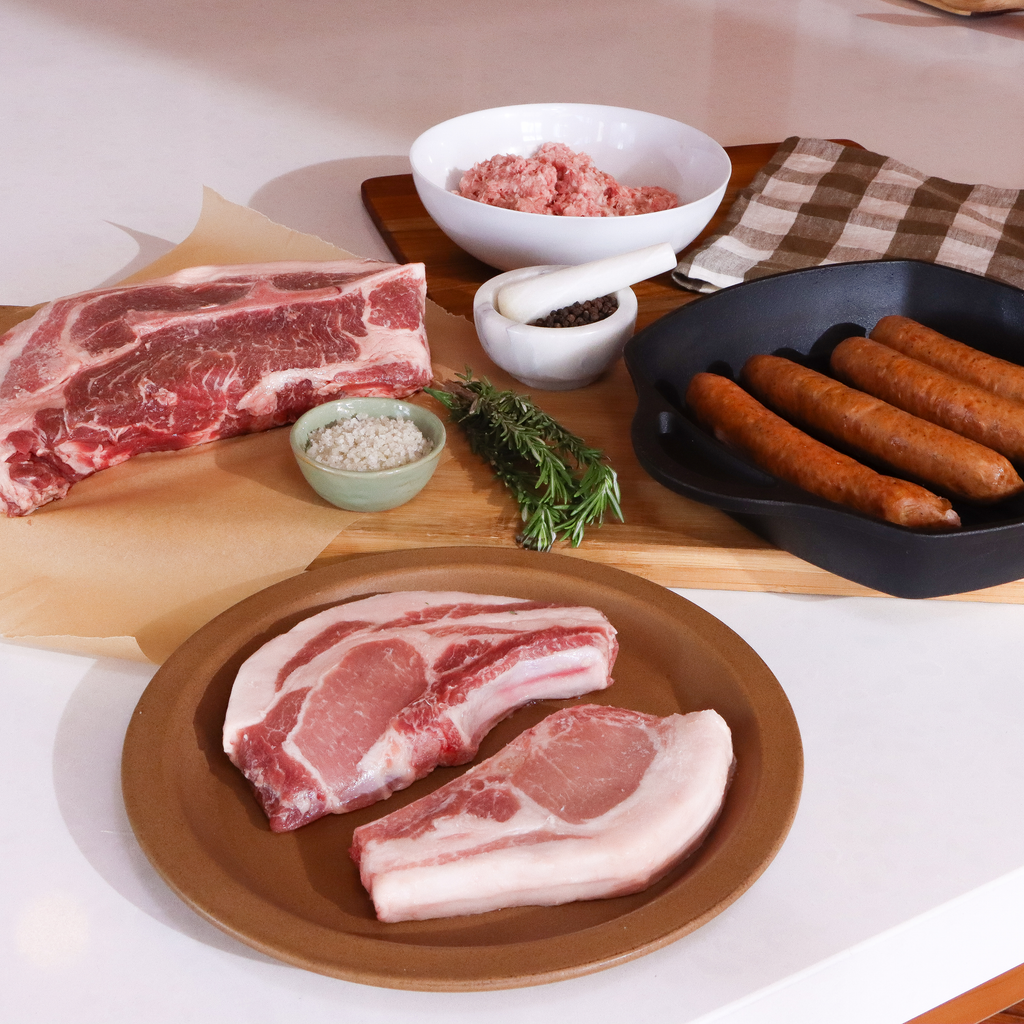
The flavor of stock comes from the flesh meats; the muscle. Don’t be tempted to make a stock just from naked bones, or just from chicken feet. While the resulting broth will have plenty of mineral content, it won’t taste like stock. So save those little bits of uneaten scars from your family’s plates after dinner. Or, add a few chicken wings or a drumstick to your stock. Our stock kits include feet, decks, backs, heads, and wings for this very reason—to give you the makings of a well-flavored stock.
Tip 10: More Vegetables
The more vegetables you use in your stock, the richer the vitamin content. Use your favorite vegetables, and don’t be shy. You can also make plain vegetable stock with no meat at all, essentially using the same process.
Tip 11: Vitamin Retention
The longer you cook the vegetables, the more you lose the vitamins. You don’t have to add the vegetables at the same time as the bones. Wait until the second day to add the veggies. Add them to boost the vitamin content, simmer for two hours, then remove. You can always add more vegetables, repeating the process, over and over again.
Tip 12: Stock Ice Cubes
We mentioned keeping reduced stock in the fridge and reboiling occasionally. Another method is to pour the strained stock into an ice tray and freeze it. Put the finished cubes into a freezer bag to prevent freezer burn. Label and date the bag, they’ll keep for at least a year in the freezer. You can use the cubes one at a time, as you need. Another variation is to pour the cooled broth into freezer bags and freeze them flat. This way, you can easily break off pieces of this sheet of stock to use in your recipes and sauces.
Tip 13: Elevate Your Grains
Use your finished broth to add flavor and nutrition to grains. Don’t cook your rice, millet, or quinoa in plain old water. Add a few spoonfuls or an ice cube of your homemade stock to the pot for a major boost of flavor and nutrition.
Tip 14: Pan Sauce
Go from boring to special with ease. Pan-fry a sirloin steak in some butter or olive oil. When done, put the steak on a plate and add a stock ice cube or large spoonful of your stock. Reduce to a glaze, picking up any browned bits and other juice leftover in the pan from cooking the meat. Pour over the steak.
Tip 15: Change it Up
Broth can be done in so many ways. Add ginger, garlic and soy sauce for an Asian-inspired broth. Add chorizo and peppers for a Mexican-inspired broth. Add oregano, garlic, and rosemary for an Italian-inspired broth. Label them accordingly so you know what you’re working with when you pull the batches out of your freezer or fridge.
Tip 16: Pet Food
If you have a beloved pet you like to spot, take the leftover well-boiled solids (all but the largest and hardest bones) and put them in a high-powered blender like a Vitamin to make pet food.
Have any other stock tips or ideas? Send them our way!